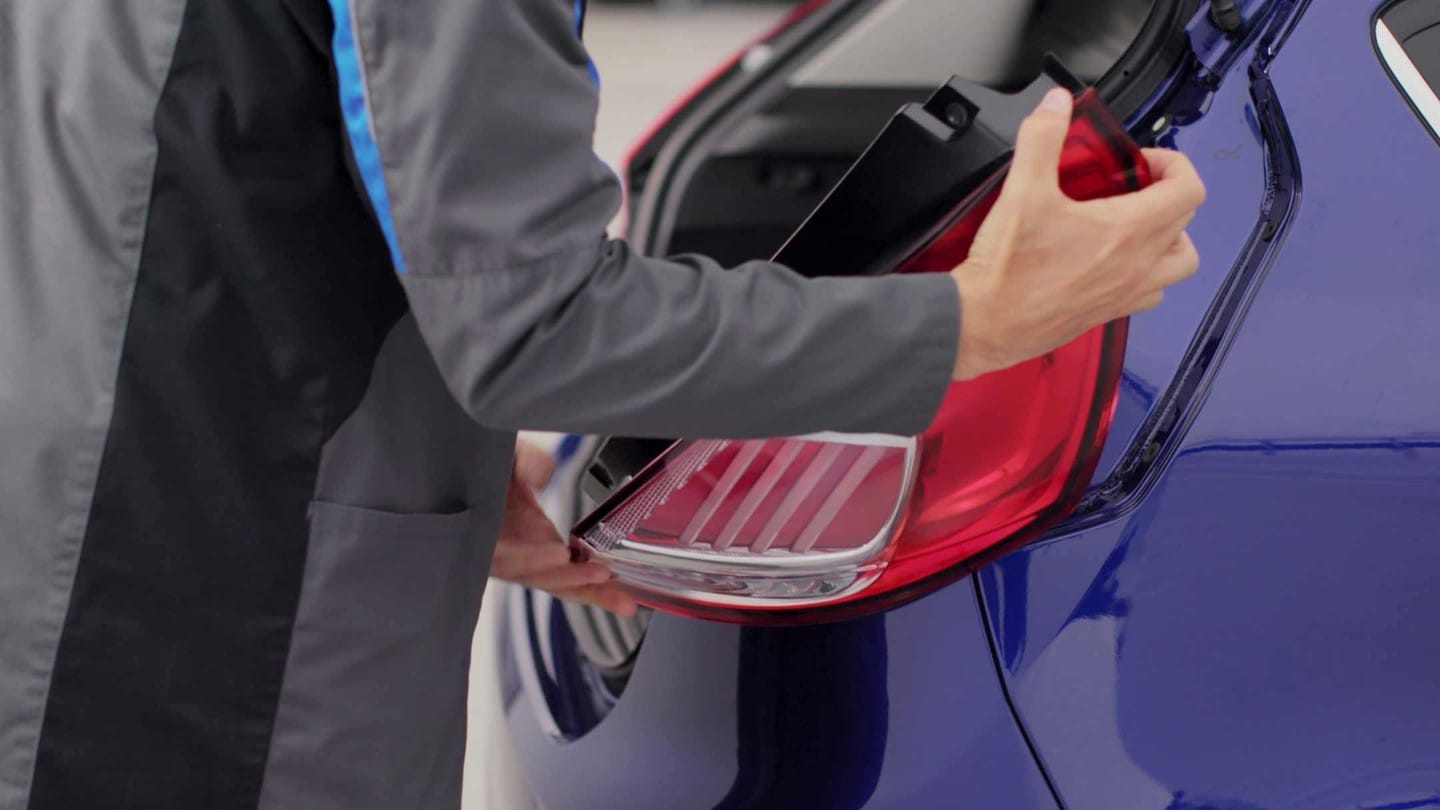
Need to change a bulb in your brake light, reversing light or indicator light? Follow this short video tutorial and you’ll soon know how.
Your car’s REAR LIGHTS are essential for visibility. So here’s how to change a bulb if its stopped working.
- Before you start, you’ll need a Torx Tx30 screwdriver.
- First make sure your handbrake’s on and your ignition’s off.
- Open the boot by pressing the release button and take off the shelf latches.
- Lift up the parcel shelf to remove it.
- Now, remove the two screws with the Torx screwdriver.
- The light unit will feel loose. But there’s still a wingnut to remove.
- Fold the side carpet back.
- Now you can get inside the bodywork. Here you’ll find the wingnut.
- Loosen the wingnut with your hands, then pull the light unit away.
- See the electrical connector? To remove it, squeeze the clips and pull it towards you.
- Place the whole rear light carefully on a flat, secure surface.
- First, here’s how to change the BRAKE LIGHT.
- To remove the bulb, turn the grey plastic holder anti-clockwise.
- Turn the bulb a quarter turn to release it.
- Just reverse the process to put a new bulb in.
- Now the REVERSING LIGHT. It’s the middle one.
- Turn the unit anti-clockwise and pull the connector out.
- Lift out the old bulb.
- Line the new bulb up. Push it in until it clicks into place.
- Now put the electrical connector back in.
- Next, the INDICATOR.
- Turn the grey indicator anti-clockwise and pull it out.
- Then, remove the bulb by turning it anti-clockwise.
- Just reverse the process to put a new bulb in.
- Time to put the whole light back in.
- First reattach the electrical connector.
- Align the light unit with the body.
- Gently push the whole unit in.
- Reach inside the bodywork to put the wing nut back on.
- Put the two screws back in.
- Gently push the side carpet back into place.
- And put the parcel shelf back on.
- Finally, put the remaining clips back in, and shut the boot.
That’s how easy it is to change a bulb in your Ford’s brake light, reversing light and indicator.
But if there’s anything you’re not sure about, you can always refer to your Owner’s Manual, or simply contact your Ford Dealer.
And if you find this video useful, check out the others in our ‘How to…’ series: it’s designed to help you keep your Ford in top condition and make best use of its many features.


